Upgrading version from 4.2.0 to version 4.2.1
Version Upgrade
Note: The following upgrade procedure is for vRent applications(which have not been customized), If you already customize the application & want to upgrade to latest version please contact us via ticket.
STEP- 1
To upgrade to the latest version of vRent, begin by logging into your cPanel.
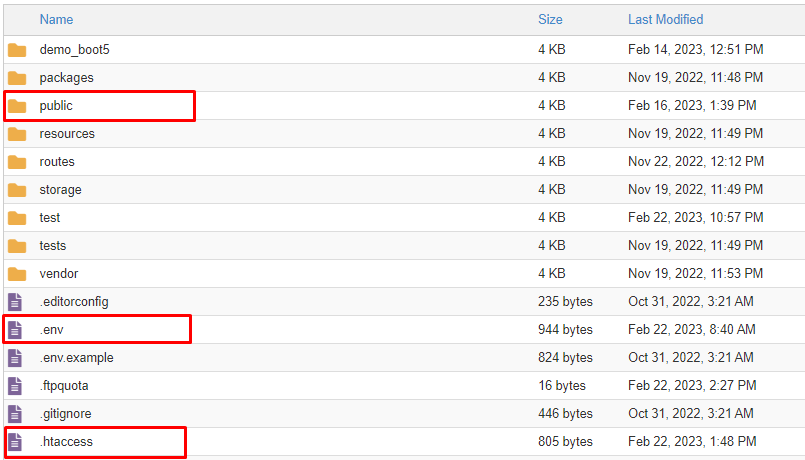
Next, navigate to File Manager > public_html.
Before proceeding further, make sure to back up your public folder.
Now, select all the folders except the .env & .htaccess file, and replace them with the new folders from the upgraded version folder.
Step-2
After placing the updated version into your cPanel, follow these steps:
1) From the backup public folder:
-
Copy the following folders from
public/front/images:bannerslogosstarting_citiestestimonial
-
Replace these folders in the new application's
public/front/imagesfolder.
2) From the backup public folder:
-
Copy the following folders from
public/images:profileproperties
-
Replace these folders in the new application's
public/imagesfolder.
3) From the backup public folder:
- Copy the
bookingfolder frompublic/uploads. - Replace this folder in the new application's
public/uploadsfolder.
4) From the previous backup file mentioned in STEP-1:
- Copy the
.envand.htaccessfiles. - Replace these files with their counterparts in the updated version.
STEP- 3
To update your database, please follow these steps:
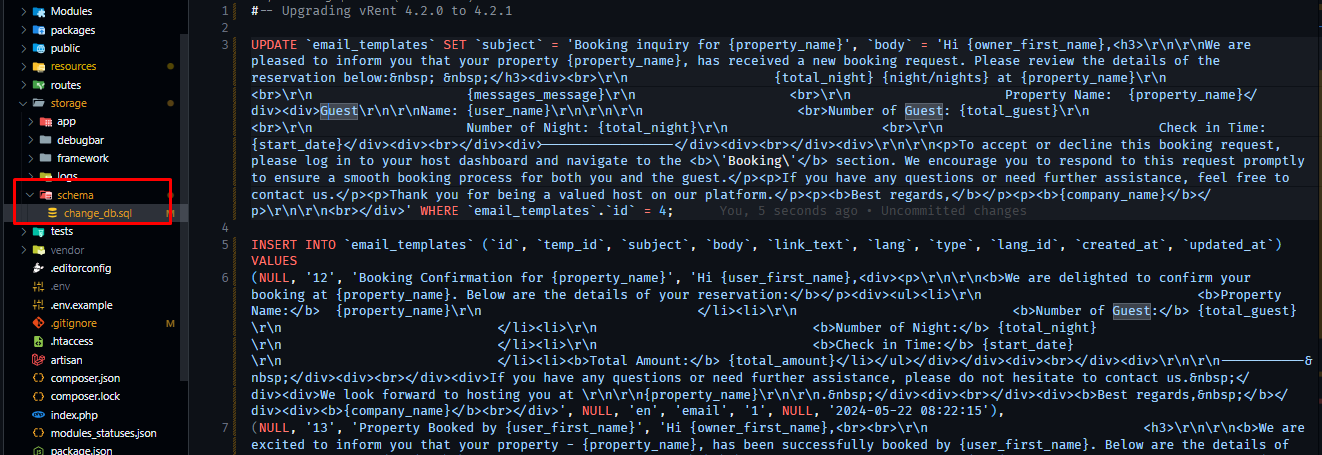
1) Open or download the SQL file from the location provided: (storage/schema/db_changelog.sql)
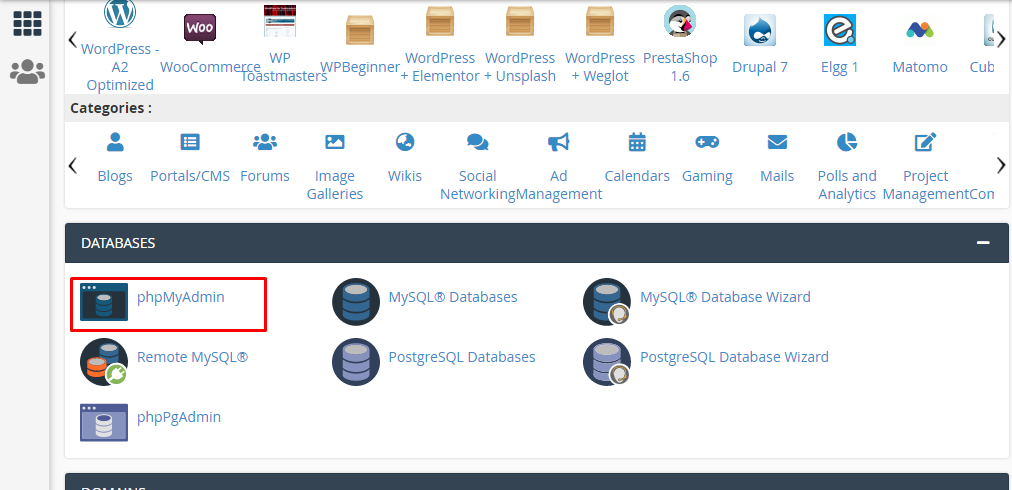
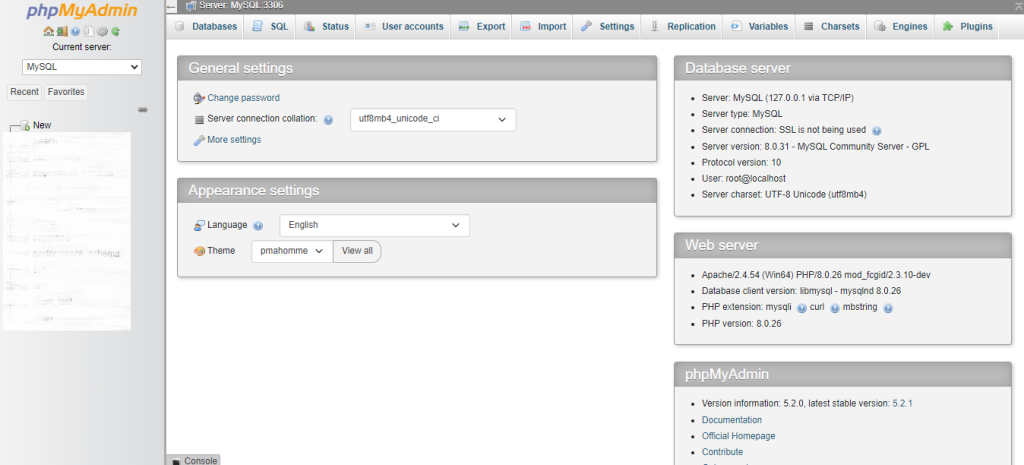
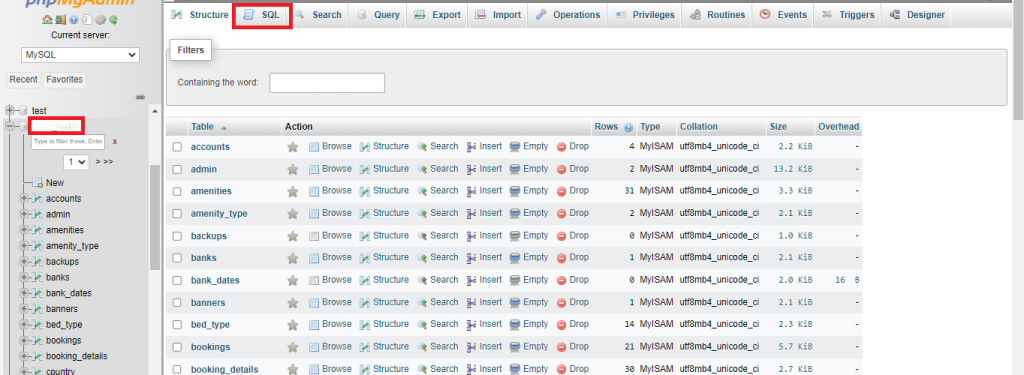
2) Log in to PHPMyAdmin from your web browser and select the database associated with your project.
3) After downloading the SQL file, open it with any text editor (such as VSCode, Notepad++, Sublime Text, etc.). Copy the contents of the SQL file.
4) In PHPMyAdmin, navigate to the SQL tab, paste the copied SQL file text into the input area, and ensure that the
Foreign key checks option is unchecked.
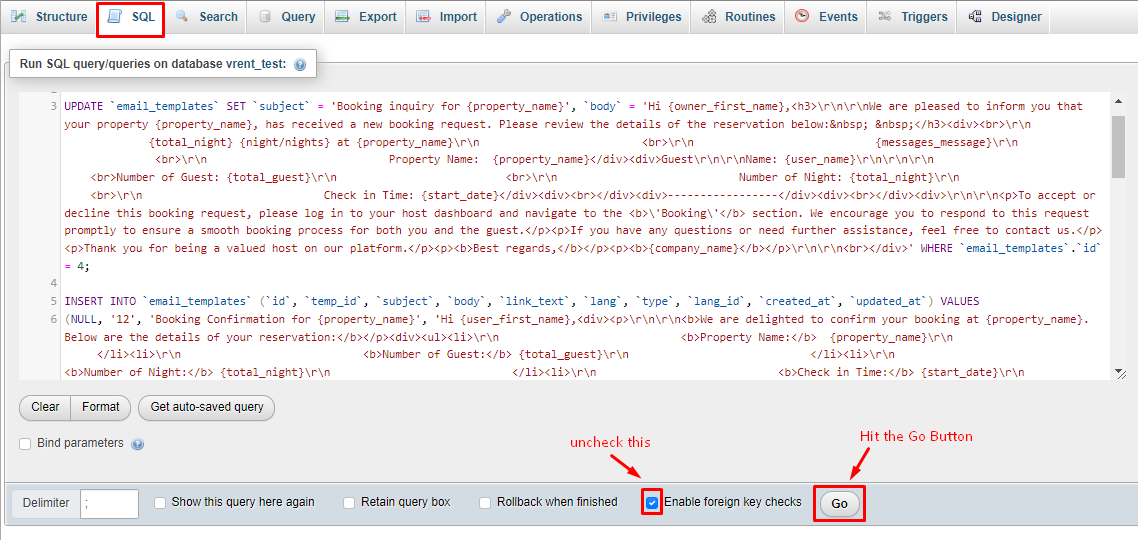
5) Click on the 'Go' button to execute the SQL queries and continue with the database update process.
STEP-4 (Optional)
Note: If you haven't observed changes in your project after updating, it's essential to clear your project's cache. Follow the steps below:
1) Navigate to your project directory.
2) Open your operating system terminal as an Administrator.
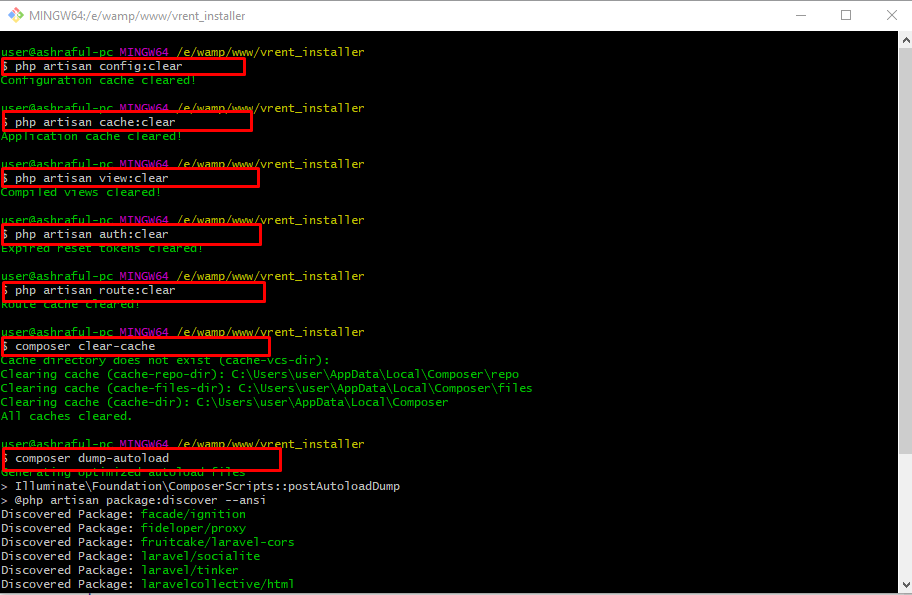
3) Execute the following commands, as illustrated in the provided screenshot.
php artisan config:clear

php artisan cache:clear

php artisan view:clear

php artisan auth:clear

php artisan route:clear

composer clear-cache

composer dump-autoload
OR
If you don't want to use your server console please go to the Admin Panel and click the Cache Clear button
![]()