Upgrading version from 4.1 to version 4.2.0
Version Upgrade
Note: The following upgrade procedure is for vRent applications(which have not been customized), If you already customize the application & want to upgrade to latest version please contact us via ticket.
STEP- 1
To upgrade to the latest version of vRent, begin by logging into your cPanel.
Next, navigate to File Manager > public_html.
Before proceeding further, make sure to back up your public folder.
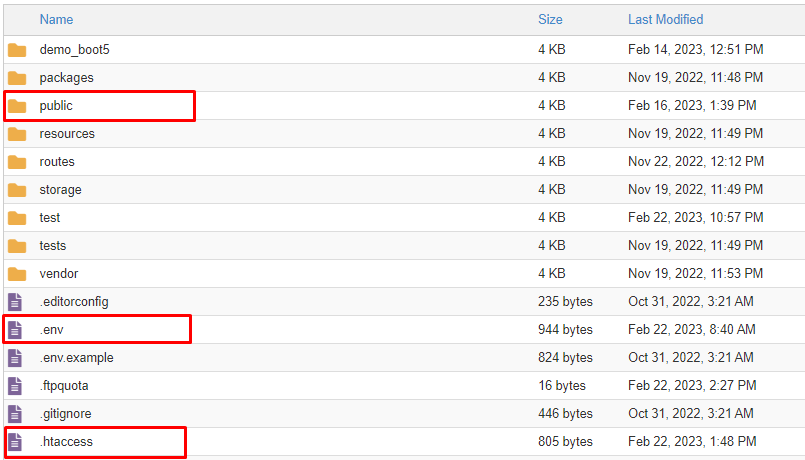
Now, select all the folders except the .env & .htaccess file, and replace them with the new folders from the upgraded version folder.
Step-2
After placing the updated version into your cPanel, follow these steps:
1) From the backup public folder:
-
Copy the following folders from
public/front/images:bannerslogosstarting_citiestestimonial
-
Replace these folders in the new application's
public/front/imagesfolder.
2) From the backup public folder:
-
Copy the following folders from
public/images:profileproperties
-
Replace these folders in the new application's
public/imagesfolder.
3) From the backup public folder:
- Copy the
bookingfolder frompublic/uploads. - Replace this folder in the new application's
public/uploadsfolder.
4) From the previous backup file mentioned in STEP-1:
- Copy the
.envand.htaccessfiles. - Replace these files with their counterparts in the updated version.
STEP-3 (Optional)
Note: If you haven't observed changes in your project after updating, it's essential to clear your project's cache. Follow the steps below:
1) Navigate to your project directory.
2) Open your operating system terminal as an Administrator.
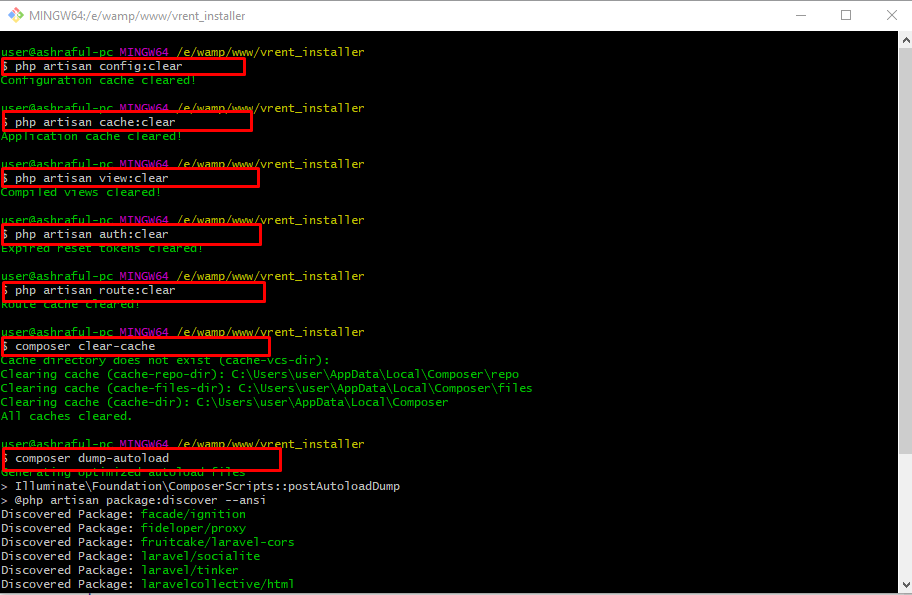
3) Execute the following commands, as illustrated in the provided screenshot.
php artisan config:clear

php artisan cache:clear

php artisan view:clear

php artisan auth:clear

php artisan route:clear

composer clear-cache

composer dump-autoload
OR
If you don't want to use your server console please go to the Admin Panel and click the Cache Clear button
![]()